The 7 Turnkey Project Steps for a Hassle-Free Home Makeover
Sept 23, 2024 - Michelle Murphy
You’re standing in your living room. The walls are dull. The vibe feels… off. You’ve got ideas, but where to start? Fast forward six months. You’re in the same spot, but everything’s different. Fresh paint. New layout. Modern fixtures. You’re standing in your dream space.
That’s a turnkey project. There are no DIY disasters. No weekends lost to YouTube tutorials. From day one to done, your vision is executed by the pros who know their stuff.
Before you dive headfirst into planning a turnkey project, you’ll want to know exactly what it is you’re getting yourself into. What each stage of turnkey renovations looks like and what you can expect after carefully selecting your all-star home makeover team.
This step-by-step guide is the REAL step one. Let’s get into it.
Find out why working with MMID is the key to a successful design project.

Turnkey Project Step #1: Initial Consultation
You’ve got ideas. Probably a Pinterest board full of them. Here’s where you share them with the experts. Now’s your chance to spill the beans on your deepest design desires.
The initial consult is the first step in any successful turnkey project. It’s normally a no-obligation, working meeting designed to get everyone familiar and on the same page. It also allows the design team to understand your wants/needs, likes/dislikes and everything they need to know about how you use your space. Typically led by your designer, you’ll be asked a lot of questions to get to the heart of what you really want. Things like “How do you use this space?” and “What’s on your must-have list?” They want to get a good gauge of your style, but also how you live in your space.
Early budget talk happens here too. Be honest. A clear budget now saves headaches later.
Turnkey Project Step #2: Budgeting & Contract
You’ve already had preliminary budget talks, but now it’s time to really talk money.
Project Estimate
Based on discussions and ideas, your team provides an estimate on costs and timeline for the project. Until the design is flushed out, this will be a rough budget range, but will help you have a good understanding of what to expect.
Payment Schedules
How much upfront? When are progress payments due? Get clarity on this. It keeps the project moving and everyone happy.
Contract
It’s long. It’s detailed. It’s boring. Read it anyway. Every word. This document is your safety net. It outlines what’s being done, how much it costs, and what happens if things go sideways. Don’t be afraid to ask a lot of questions. A good turnkey project team expects it.
A professional turnkey project will ensure you avoid these common home blunders! Check out part 1, [part 2]ªhttps://michellemurphydesign.com/blog/2023/10/3/home-blunder-series-common-interior-design-mistakes-part-2/, part 3, part 4, and part 5 in our popular Home Blunder Series!

Turnkey Project Step #3: Design & Planning
We’re signed, sealed, delivered, and everyone’s excited about your ideas. Now it’s time to give them a bit of life.
Concept Designs
You’ll see your ideas refined and realistic with rough sketches, mood boards, and maybe some 3D renderings. It’s your first real look at your future space.
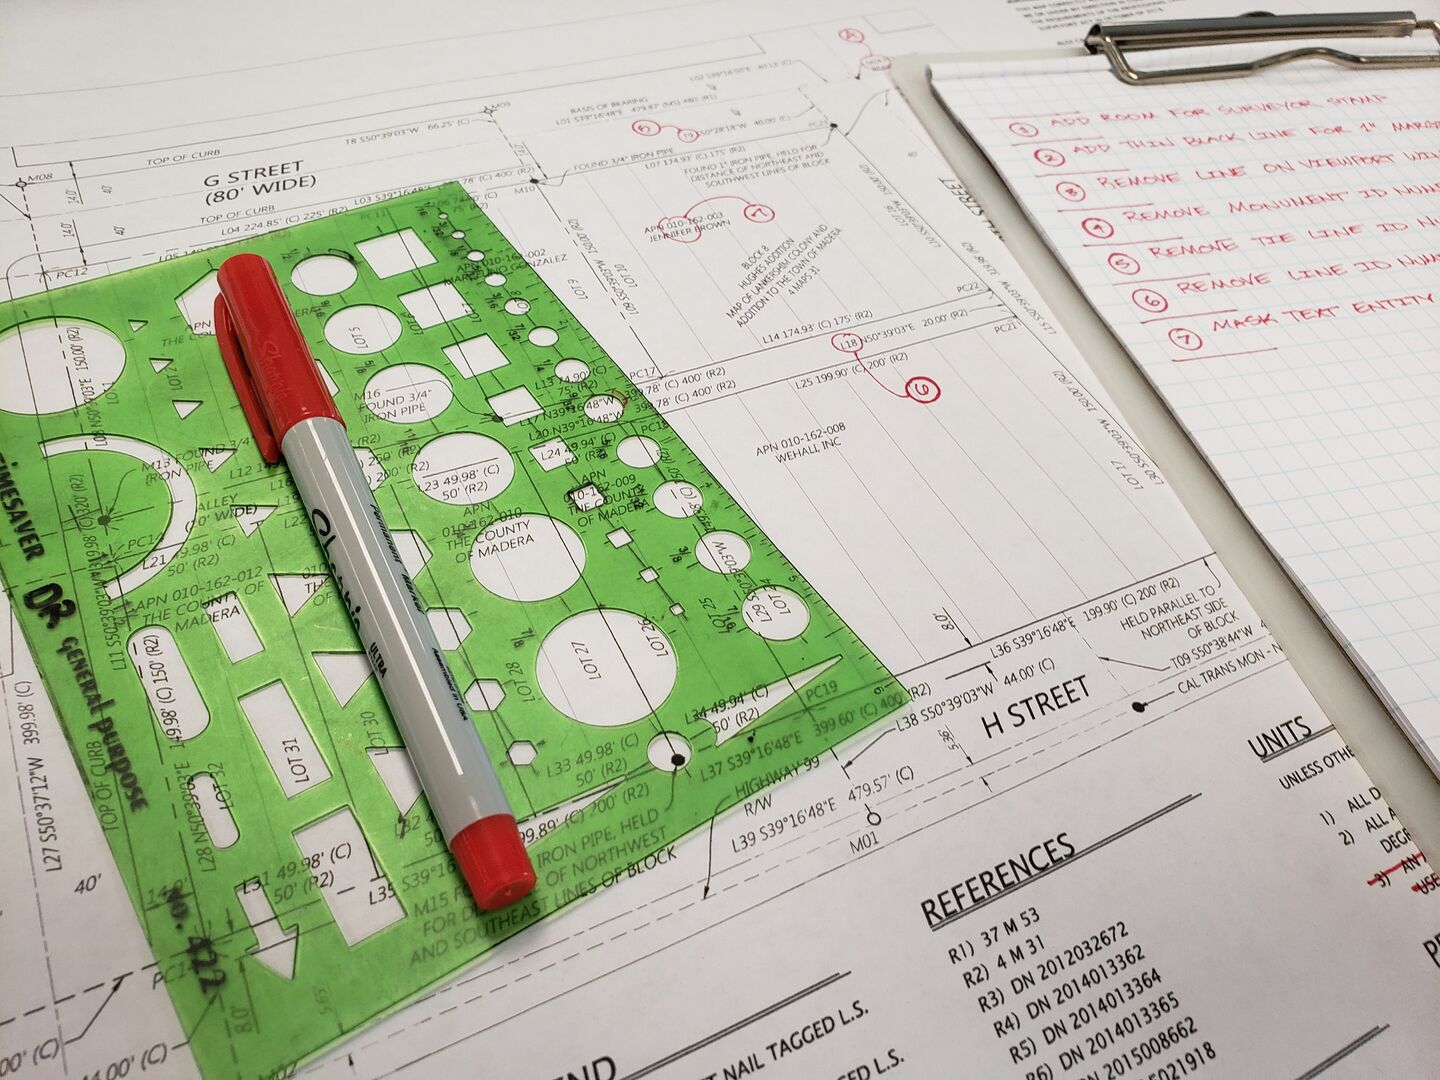
Detailed Floor Plans
The less glamorous but equally important aspects like electrical layouts and plumbing schematics. These blueprints act as the roadmap for your entire project.
Finishes & Fixtures
Usually everyone’s favourite part. Making decisions on things like paint colours, tile patterns, and cabinet styles. Exciting? Yes. Overwhelming? Also yes. There’s going to be a lot of choice here, so lean on your designer. They’ll help narrow options based on your style and budget.
Throughout this phase, you’re the decision-maker. Like that wall colour? Approve it. Not sure about that kitchen layout? Say something. Now’s the time for changes. Once construction starts, alterations get pricey.
Good design is a dialogue, so expect some back and forth too. You might love an idea on paper, then realize it won’t work in real life. That’s normal. It’s why this phase exists.
MMID’s Design Process is tested, straightforward, and has been perfected over years and an impressive portfolio of projects. Learn more now.
Turnkey Project Step #4: Permits, Approvals & Final Costs
Detailed Estimate
Based on the final design, your team breaks down every expense. Projected labour, materials, permits, etc.
Like with most renos, a turnkey project isn’t cheap, so expect some sticker shock. But because a turnkey renovation is so planned out, there’s less chance of surprise costs later. It’s more of a what-you-see-is-what-you-get kind of scenario, which is good news for you.
Approvals & Permits
You’ve approved the design plans and costs, which means you’ve given the green light for construction to begin. But before it can, your team needs to submit documents and get the approval nod from the local authorities.
Your role here? To wait. Sometimes for a while. Approval times vary depending on where you live. Could be weeks. Could be months. Don’t panic. Your team is well-versed in building codes and zoning laws and will keep you updated.
Sometimes, you’ll need to get involved. Maybe it’s signing an extra form. Maybe it’s green-lighting a design tweak to meet code. Stay responsive. Quick decisions here keep things chugging along.
Turnkey Project Step #5: Pre-Construction Preparation
Permits in hand? Nice. While you’ve been waiting, your turnkey project team has been working hard behind the scenes to order materials, line up subcontractors, and map out a game plan to avoid delays. Between managing product lead times, juggling multiple trades, and getting your space prepped, there are a lot of moving pieces to keep track of. Throughout this phase, your turnkey project team will keep you in the loop. If something’s backordered or a home renovation contractor’s unavailable, you’ll know.
This is also your last chance for tweaks. Last-minute changes aren’t ideal, but they’re easier now than mid-construction.
Looking to give your home in Calgary a facelift? These tips will help you plan your renovation.
Turnkey Project Step #6: Construction Phase
Day one hits with a bang—literally. Demolition starts. It’s loud, messy, and exciting. Your old space disappears to make way for the new. Don’t be shocked if things look worse before they get better. It’s all part of the process.
Next, the bones of your new space emerge. Walls shift. New electrical lines snake through. Plumbing gets rerouted. Different trades rotate through. Expect some quiet days mixed with bursts of activity.
During this time, your turnkey project manager is your point person. It’ll more than likely be your designer, and they’ll keep you updated and handle any hiccups. And hiccups WILL happen. So be prepared.
The construction phase is a rollercoaster. Some days you’ll be thrilled. Others, you might wonder what you’ve gotten into. That’s normal. Keep your eye on the prize!
Have a custom home builder already? Here’s why you still want a designer on board.
Turnkey Project Step #7: Finishing Touches
The heavy lifting’s finally done! Now it’s time for the details that make your space chef’s kiss. Your turnkey project team is in high gear throughout this entire phase. They’re coordinating deliveries, installations, and last-minute tweaks.
Paint
Your space puts on its final outfit as the walls transform from drab drywall to your chosen hues. Suddenly, all those colour swatches you agonized over for weeks are paying off!
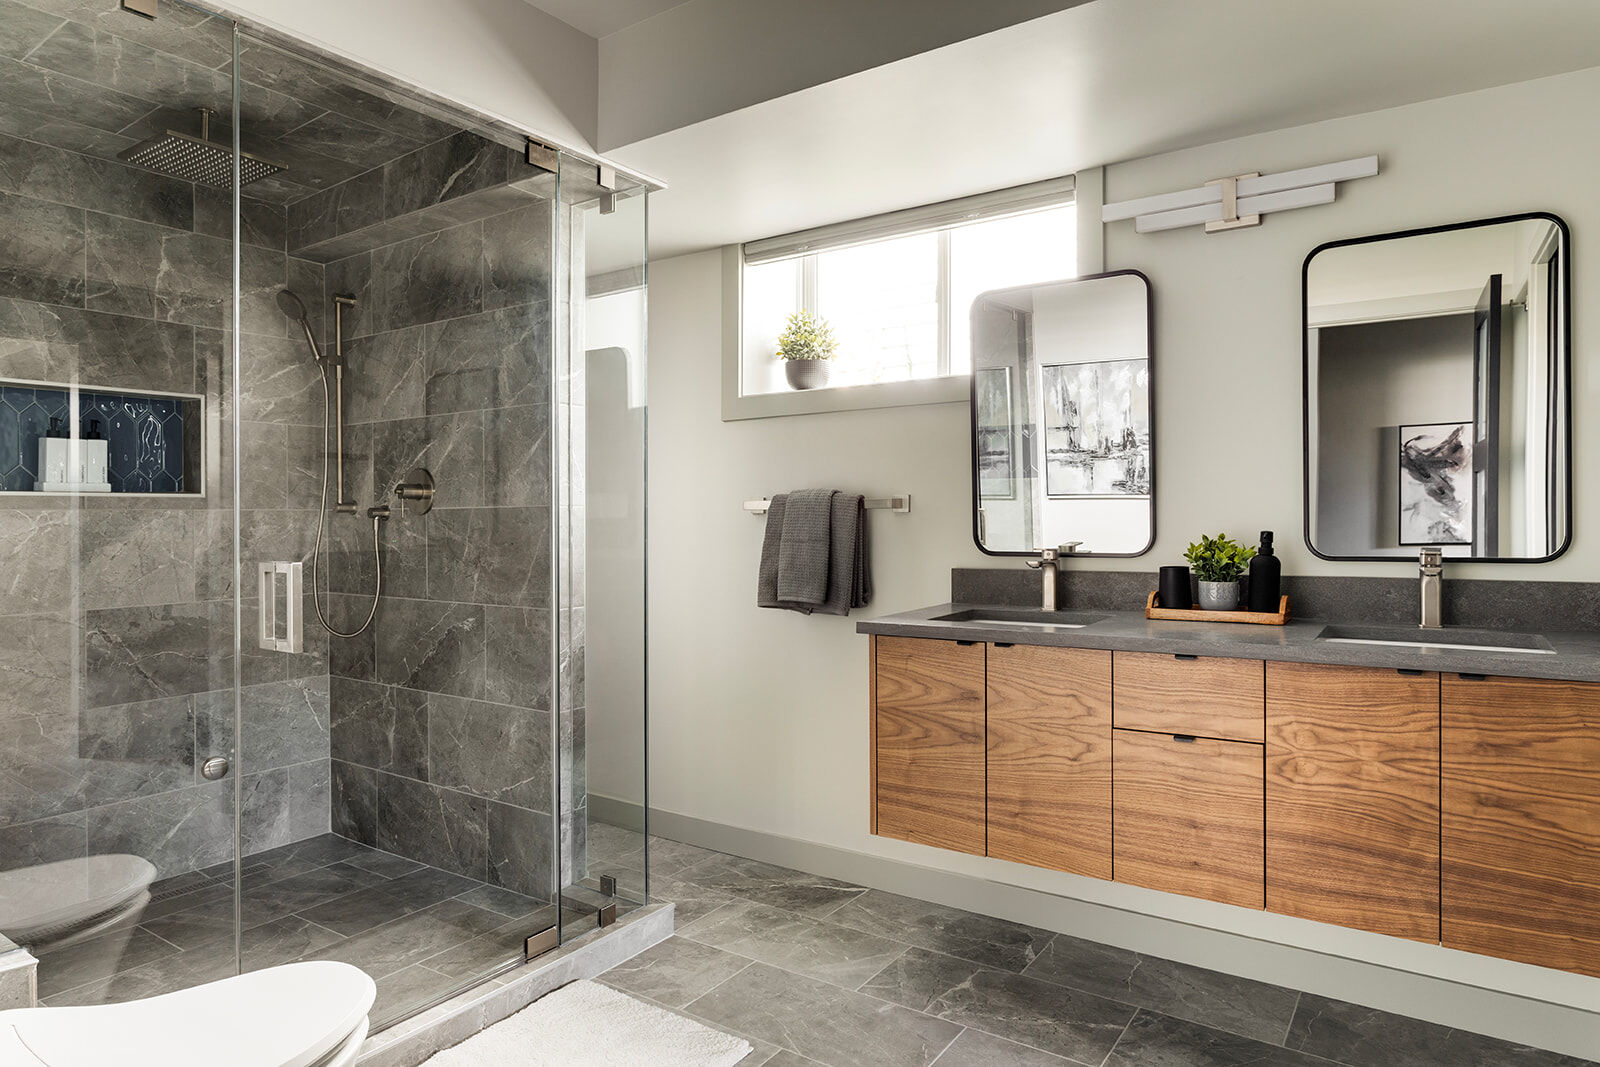
Fixtures
Your space gets its jewellery as all the fun stuff is installed. That sleek faucet you picked is finally in place and that stunning statement light fixture goes up.
Appliances & Hardware
Your new fridge hums to life. That smart oven you splurged on gets plugged in. And that freestanding clawfoot tub? C’mon. Cabinet handles and doorknobs—all the small details that make a big difference—finally find their homes.
Flooring
Flooring is often one of the final big jobs and it’s also usually saved for last to avoid any damage.
Detailing
Last but not least, the big clean. Your team does a deep scrub to erase all signs of construction and give you your first glimpse of the finished product.
Turnkey Project Step #7: Quality Control & Handover
This is it. The moment you’ve been waiting for. Your turnkey project is almost complete.
Final Walkthrough
You and your turnkey project manager tour the space for a thorough inspection. During this walkthrough, you’ll create a to-do list of final tweaks known as a “deficiencies list”. Maybe a door doesn’t close smoothly. Or a paint touch-up is needed. Your team then addresses each item, which might take a few days, but don’t worry, the end is near!
The Handover
The last of the paperwork is signed and your turnkey project is officially complete!
Don’t miss these top 5 tips for maintaining a newly renovated home!
Turning a Key on a New Chapter
Remember where we started? A space that didn’t quite work. A vision of what could be. Now, look around. Your ideas have become reality—and there are no home improvement fails in sight.
That’s really the beauty of a turnkey project. Your space smoothly transforms before your eyes while you go about living your life as normal. Maybe it wasn’t always easy, but in the end, you’ve got a space that’s uniquely yours, created by professionals who know their stuff.
A home is never truly finished. It evolves as you do. But for now, take a deep breath. Relax. You’ve turned a key and opened the door to a whole new chapter in your home.
Need a pro interior designer to lead your turnkey project with expertise? Contact MMID now!